Color deconvolution plug-in
4N6site.com
Examples
Click on the images to toggle between the original and the color deconvolution result.
You can also try color deconvolution yourself using the webapp, no download needed!
Retouching photographs
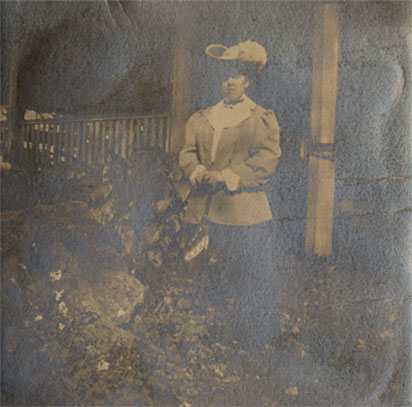
This old photograph suffers of an effect called mirroring, which makes it hard to scan it. Fortunately it can be restored in a few clicks with the color deconvolution plug-in. Original image courtesy retouchpro.com
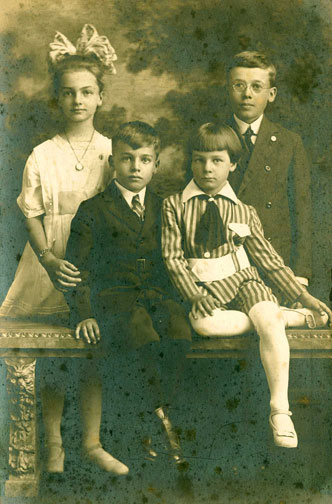
The particular degradation in this old photograph is called silvering. Restoration in this case was done in two steps: first color deconvolution was applied, then the result was put as a layer on top of the original in Photoshop's multiply mode.
Faded documents
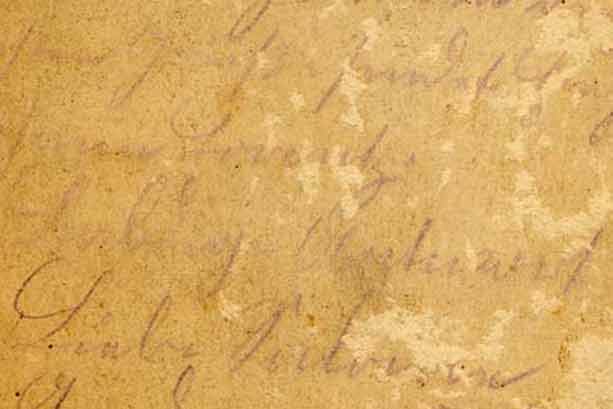
This image of a faded document was sent to 4N6site.com by a color deconvolution plug-in user. The image was treated with the color deconvolution plug-in in two passes, after which contrast was increased.
Fingerprint, removing background
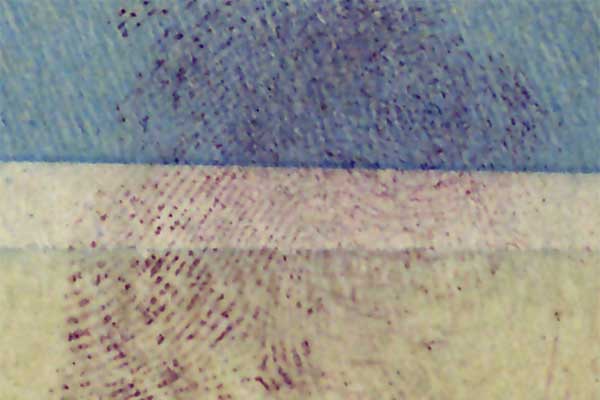
The background of the fingerprint on the inside of an envelope was cleaned up by applying color deconvolution twice: First to clean the blue in the top part and then to clean the bottom part.
Obliterated writing, removing foreground

Making this text readable again turned out to be surprizingly easy using the color deconvolution plug-in to remove the foreground color.
Histology
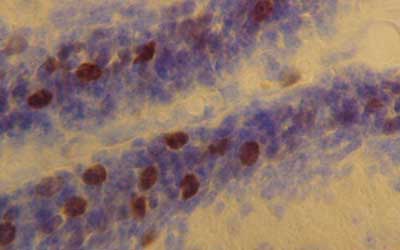
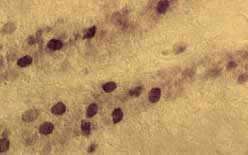
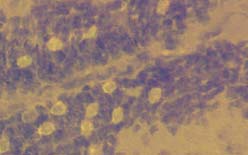
A different application is demonstrated here for histology, a technique which is sometimes used in pathology. In histology, biological tissue is sectioned as a thin slice, and studied under a microscope. Sections are stained with one or more pigments to make the tissue and the different parts in it visible. Color deconvolution was used here to show the separate contributions of the DAB-stained parts (brown) and the Nissl-stained parts (blue) to the final image.
Removed stamp

This is a high contrast scan of a stamp that was removed from a passport. Increasing the contrast does not make it much easier to read it, since the background is amplified as well. Color deconvolution was used to separate the stamp ink color from the background and dramatically enhance the image.
Color discrimination, blue ballpoint

It's easy to discriminate these inks with color deconvolution, as clearly demonstrated.
Color discrimination, blue ballpoint
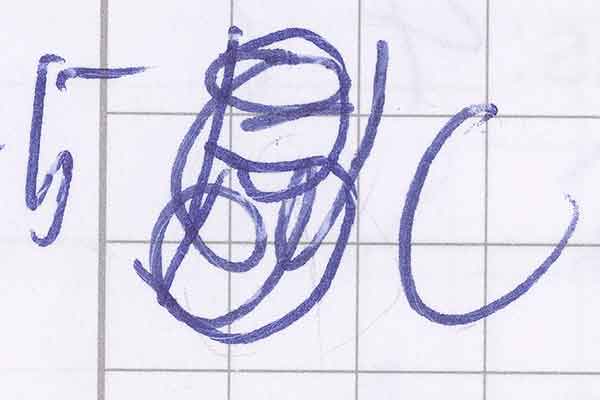
These inks were so close that only color deconvolution could tell them apart.
Please note that all of the examples on this page were made by applying the plug-in to the whole image at once. No selections or brushes were used.